


 Flashlight
 Solar
Extension Cable
Solar
Extension Cable


How to Install Solar Panels: Costs and Step-by-Step Guide
Switching to solar power is one of the most rewarding steps toward energy independence. But before you can enjoy clean, renewable electricity, you need to understand how to install solar panels correctly.
Proper installation ensures your system performs efficiently, safely, and lasts for decades. In this detailed guide, you’ll learn:
- The steps to install solar panels on your home or business.
- The factors that affect installation cost.
- Key safety and maintenance considerations.
Whether you’re working with a professional or exploring a DIY setup, these fundamentals will help you make informed, confident decisions.
Understanding Solar Power Basics

Before installation, it’s important to know how solar panels function within a complete system.
A solar system typically includes:
- Solar panels – capture sunlight and generate direct current (DC).
- Inverter – converts DC to alternating current (AC) used by homes.
- Mounting system – secures panels to your roof or ground frame.
- Charge controller (for off-grid) – regulates voltage to protect batteries.
- Battery storage (optional) – stores excess energy for nighttime use.
- Wiring and junction boxes – connect everything safely.
Once installed, sunlight is converted to electricity and distributed throughout your home — reducing grid dependence and supporting clean energy.
Site Evaluation: The Foundation of a Successful Installation
Installing solar panels begins long before the first panel is mounted. A proper site assessment ensures maximum efficiency and safety.
Key Steps:
- Assess roof condition: It should be sturdy, free of leaks, and able to support added weight.
- Check sun exposure: Use tools like solar pathfinders or apps to identify shading from trees or nearby structures.
- Determine roof orientation: South-facing roofs (in the Northern Hemisphere) receive optimal sunlight.
- Calculate tilt angle: The best tilt usually matches your location’s latitude, but adjustable mounts can optimize year-round exposure.
- Evaluate local regulations: Some regions require permits or inspections before installation.
test2Key Steps:
Assess roof condition: It should be sturdy, free of leaks, and able to support added weight.
Check sun exposure: Use tools like solar pathfinders or apps to identify shading from trees or nearby structures.
Determine roof orientation: South-facing roofs (in the Northern Hemisphere) receive optimal sunlight.
Calculate tilt angle: The best tilt usually matches your location’s latitude, but adjustable mounts can optimize year-round exposure.
Evaluate local regulations: Some regions require permits or inspections before installation.
If your roof isn’t ideal, ground-mounted systems or portable solar generators can be excellent alternatives for capturing solar energy.
Explore these options in our Solar Generators Collection.
Planning Your Solar Panel Layout
Once the site is ready, the next step is designing your solar layout.
Considerations:
- Energy needs: Review your past electricity usage to size your system properly.
- Panel capacity: Match your total energy target with the number of panels needed.
- Space availability: Each panel requires roughly 1.6–2 m² of space.
- Wiring path: Plan how cables will connect panels to the inverter and main breaker safely.
Professional designers use software to simulate sunlight angles and shadows, helping determine the most efficient layout for year-round power generation.
Tools and Equipment Needed
Even if you hire professionals, understanding the essential tools and parts helps you follow the process clearly.
|
Category |
Examples |
|
Mounting Hardware |
Rails, brackets, roof hooks, clamps |
|
Electrical Components |
Inverter, charge controller, fuses, circuit breakers |
|
Safety Gear |
Gloves, harness, non-slip footwear |
|
Cabling |
MC4 connectors, copper wiring, grounding equipment |
|
Miscellaneous |
Multimeter, wrenches, drill, sealant |
These components ensure a secure, weather-resistant, and code-compliant system that lasts decades
Step-by-Step Solar Panel Installation Process
Let’s walk through how professionals typically install solar panels on a roof.
Step 1: Mark Mounting Locations
Using a chalk line, installers mark where the mounting brackets or rails will be attached to the roof structure. These points must align with roof rafters for strength and even spacing.
Step 2: Install Mounting Brackets
The brackets serve as the foundation for the entire system. They are bolted securely through the roof using lag bolts and waterproof sealant to prevent leaks.
Proper alignment ensures your panels will sit evenly and withstand wind loads.
Step 3: Attach the Mounting Rails
Rails run horizontally across the brackets, supporting the panels. Once mounted, installers double-check their alignment using levels to ensure panels will sit flush.
Step 4: Mount Solar Panels
Panels are lifted onto the rails and fastened using mid and end clamps. Care is taken to avoid overtightening, which could crack glass or damage frames.
Each panel is connected in series (to increase voltage) or parallel (to increase current), depending on the system design.
Step 5: Connect Electrical Wiring
Wiring connects the panels to the inverter and then to your home’s main service panel.
- DC cables run from panels to the inverter.
- The inverter converts DC into AC power.
- The AC output connects to your main breaker box.
A qualified electrician ensures all connections meet safety codes and grounding requirements.
Step 6: Inverter and Battery Installation
If you’re using solar batteries or a hybrid inverter, these are installed next to the main panel. Batteries store extra energy for use at night or during outages.
Modern systems often include smart inverters that track power generation in real time.
Step 7: Testing and Commissioning
Once everything is connected, technicians test voltage output, verify inverter readings, and inspect for grounding integrity.
Your system must pass inspection before it can connect to the grid or begin off-grid operation.
After testing, you’ll officially be producing clean solar power.
How Much Does It Cost to Install Solar Panels?

The cost of installing solar panels depends on several key factors, including system size, location, and materials.
Cost Factors Explained
- System size: Larger arrays with more panels produce more power but require more materials and labor.
- Roof type and angle: Complex or steep roofs take longer to install.
- Panel type: Monocrystalline panels are more efficient but costlier to manufacture.
- Inverter selection: Central inverters, microinverters, or hybrid models each vary in complexity.
- Battery storage: Adding batteries increases independence but also installation complexity.
- Location: Permits, labor rates, and sunlight hours differ by region.
Even though the initial installation can require investment, panels usually pay off in long-term energy savings and sustainability benefits.
If you’re wondering how much to install solar panels, the best answer depends on your energy goals and environment — not a one-size-fits-all number.
Ground-Mounted vs. Roof-Mounted Solar Panels
Not every installation has to go on a roof. Ground-mounted solar arrays are popular for open land or properties with limited roof space.
|
Aspect |
Roof-Mounted |
Ground-Mounted |
|
Installation Complexity |
Moderate |
Higher |
|
Maintenance |
Harder to access |
Easier to clean |
|
Cooling & Efficiency |
Warmer = slightly less efficient |
Cooler = more efficient |
|
Space Needed |
Limited to roof |
Requires dedicated ground area |
Ground systems often tilt optimally for the season, while rooftops rely on the roof’s natural slope.
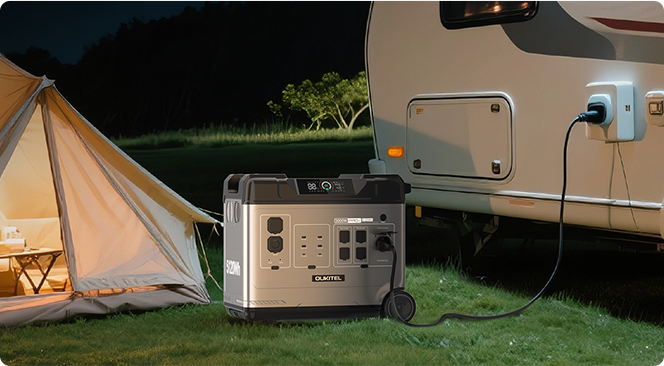
For mobile and flexible options, portable solar generators offer plug-and-play functionality without permanent installation.
Safety Guidelines During Installation
Installing solar panels involves electrical and structural work, so safety comes first.
Key Safety Measures
- Turn off all power sources before wiring.
- Use fall protection when working on roofs.
- Follow grounding standards to prevent electric shock.
- Seal all penetrations to prevent leaks.
- Label wiring clearly for easy troubleshooting.
Professional installers undergo certification to meet local safety and building regulations. Even if you’re familiar with electrical systems, having a licensed expert review your setup ensures long-term reliability.
Maintenance After Installation
Solar panels require minimal upkeep, but regular attention ensures lasting performance.
Routine Tasks
- Cleaning: Wash panels gently with water and a soft cloth to remove dust or pollen.
- Visual Inspection: Check for cracks, discoloration, or debris buildup.
- Monitor Output: Use your inverter app or monitoring tool to track daily production.
- Check Wiring: Ensure cables remain tight and corrosion-free.
Rain naturally cleans panels in most regions, but manual cleaning every 6–12 months helps maintain optimal efficiency.
How Long Installation Takes
The actual installation process for residential systems usually takes 1 to 3 days, depending on size and complexity.
However, the planning and permitting phase — which includes site surveys, design, and local approval — may take several weeks.
Typical Timeline Overview
|
Stage |
Duration |
|
Site Assessment & Design |
1–2 weeks |
|
Permitting & Approval |
2–6 weeks |
|
Installation & Wiring |
1–3 days |
|
Inspection & Commissioning |
1 week |
Working with certified installers helps streamline this process and ensure faster approval.
Solar Panel Installation for Businesses
Commercial systems are larger but follow the same principles as residential ones.
Key Differences
- Scale: Commercial installations often exceed hundreds of panels.
- Mounting: Flat roofs typically use ballasted systems without roof penetration.
- Monitoring: Advanced data systems track real-time performance and ROI.
- Maintenance: More frequent inspections due to higher energy throughput.
Whether for small offices or large industrial sites, solar power reduces grid costs and demonstrates environmental leadership.
Off-Grid and Hybrid Solar Installations
For properties outside city limits or in areas with unreliable grids, off-grid solar systems combine panels, batteries, and inverters to deliver complete independence.
Hybrid systems, meanwhile, stay connected to the grid while maintaining battery backups. These setups ensure consistent power during outages — perfect for rural homes, cabins, or farms.
Portable solar generator systems, like those in the Solar Generators Collection, make off-grid energy accessible for everyone — no roof mounting required.
Common Installation Mistakes to Avoid
Even small errors during installation can affect performance or safety.
Avoid These Mistakes:
- Incorrect tilt or direction reducing sunlight exposure.
- Using undersized wiring that causes voltage drop.
- Failing to ground panels properly.
- Ignoring shade patterns that change seasonally.
- Overloading the inverter beyond its rating.
Professional installers use modeling tools to prevent these issues and ensure each system meets electrical standards.
FAQs
How to install solar panels?
Installers secure mounts to the roof, attach panels, connect wiring to the inverter, and link the system to your main electrical panel.
How much does it cost to install solar panels?
Costs vary based on location, size, and panel type. The overall expense depends on how many panels you need to meet your energy goals.
How long does installation take?
Most residential systems take 1–3 days after permits are approved.
Can I install solar panels myself?
DIY installation is possible for small systems, but professional installation ensures safety, efficiency, and warranty coverage.
How do solar generators differ?
Solar generators combine portable panels, batteries, and inverters — requiring no permanent installation and perfect for off-grid use.
Key Takeaways
|
Concept |
Summary |
|
Installation Process |
Site survey → Mounts → Wiring → Inverter → Testing |
|
Timeline |
1–3 days for installation; longer for design and permits |
|
Cost Factors |
System size, components, and location |
|
Maintenance |
Minimal — mainly cleaning and visual checks |
|
Professional Help |
Recommended for electrical safety and compliance |
Why cordless models are easier for room
Charges overnight, stores in a cabinet, and travels easily. No cord to work aroundntly on the counter, the cordless format producesbetter daily compliance even at slightly lower power.
| 1984 Year the franchise launched |
100+ Characters by the late 1980s |
6+ Active Blokees series |
2024 National Hall of Fame |
Conclusion
Installing solar panels may seem complex at first, but the process is straightforward when broken down step-by-step. From site evaluation to final inspection, each phase ensures your system is safe, efficient, and ready to deliver decades of renewable power.
Whether you’re curious about how to install solar panels or simply exploring renewable options for your home or business, solar energy remains one of the smartest, most sustainable investments available today.
And for those who prefer a flexible, portable option, solar generators bring the same clean energy benefits — no roof required.
Take the next step toward energy independence, one panel (or solar generator) at a time.


Looking for something else?
How to Install Solar Panels: Costs and Step-by-Step Guide
LEARN MORE
OUKITEL Energy Storage Shines at the 139th Canton Fair, Global Customers Experience Product Strength On-Site
LEARN MORE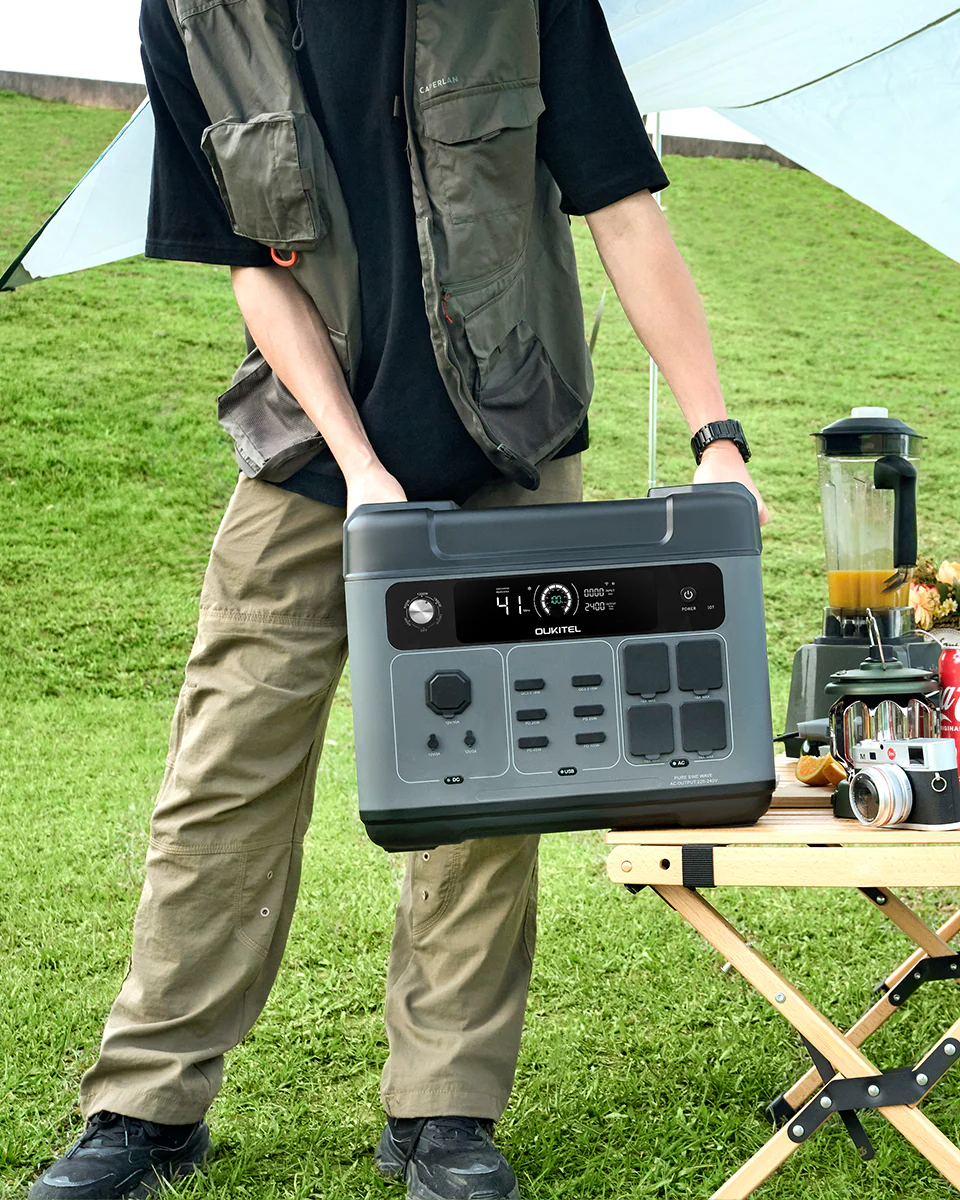
What Are Solar Panels Made Of: Materials Behind Solar Power
LEARN MORELooking for something else?
How to Install Solar Panels: Costs and Step-by-Step Guide
LEARN MORE
How to Get a Perfect Christmas: Last-Minute Deals 2025
LEARN MORE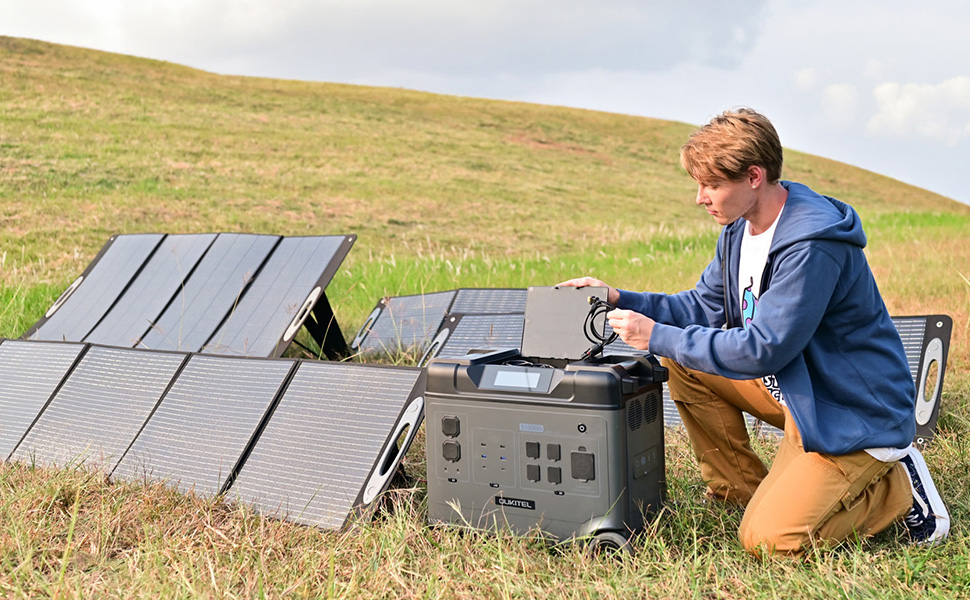
Do Solar Panels Work on Cloudy Days? Efficiency and Insights
LEARN MOREYou may also like

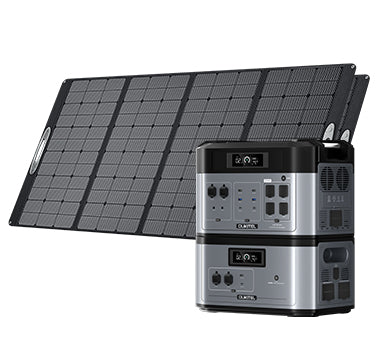
OUKITEL P5000 Portable Power Station 5120Wh/2200W
OUKITEL P2001 Solar Generator
OUKITEL P2001 Portable Power Station 2000W/2000Wh

OUKITEL P2001 Plus+400W Solar Generator

OUKITEL P2001 Plus Portable Power Station 2400W/2048Wh

OUKITEL P1000 PLUS Portable Power Station 1800W/1024Wh
Further reading
Are Solar Panels Worth It? A Complete Guide

How Long Do Solar Panels Last: Residential and Commercial Insights
What Are Solar Panels Made Of: Materials Behind Solar Power

